Nothing steals attention in a home quite like a beautifully restored hardwood staircase. Years of foot traffic, pet claws, and shifting furniture can leave even the sturdiest steps looking dull and tired. Bringing back their original luster is entirely possible, with patience and the right approach. Sanding your hardwood stairs is the game-changer that transforms worn treads into a standout feature.
Understanding Hardwood Staircases and Sanding Basics
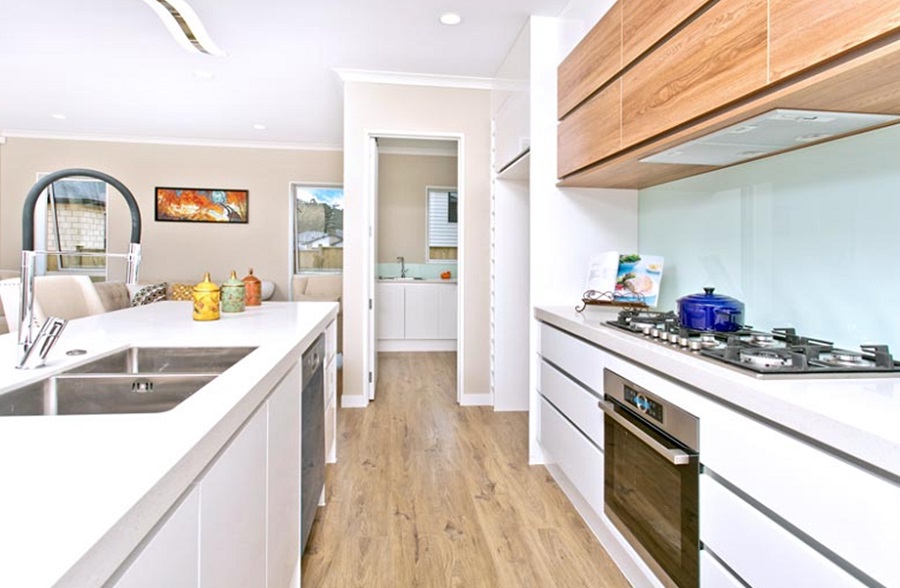
Hardwood stairs bring warmth and character to any space, but their durability relies on consistent care. Over time, the finish can wear thin, scratches can multiply, and grime settles into the grain. Sanding not only removes these imperfections but also preps the wood for a fresh finish that protects and beautifies.
Why Sanding Hardwood Stairs Is Essential
Leaving scratches, gouges, or worn patches unattended doesn’t just affect appearance. The exposed wood becomes vulnerable to moisture, which can lead to swelling, warping, or even rot. Sanding ensures the surface is level and ready for a protective finish, increasing both lifespan and curb appeal. Well-sanded steps also provide better traction, making them safer for every member of the household.
Types of Hardwood Commonly Used in Staircases
The most popular choices for staircase hardwoods include oak, maple, cherry, walnut, and mahogany. Each wood type responds differently to sanding. For example, oak’s open grain is forgiving and easy to refinish, while maple’s tight grain may show swirl marks if sanding is rushed. Knowing your stair’s material can help you choose the right technique and finish.
Tools and Materials Needed for Sanding
Before the first grain of dust hits the air, gather these essentials:
– Orbital or detail sander (plus a hand sanding block for corners)
– Sandpaper (grits: 40, 80, 120, 180)
– Pry bar (for removing molding or nosing, if needed)
– Vacuum and tack cloths
– Painter’s tape and plastic sheeting
– Safety gear: dust mask, safety glasses, ear protection, work gloves
Having the right tools on hand ensures you can tackle every nook and cranny of your staircase.
Preparing Your Staircase for Sanding
A perfectly sanded staircase starts with careful prep. Skipping these steps can mean dust everywhere and less-than-stellar results.
Safety Precautions and Protective Gear
Sanding kicks up clouds of fine dust that can irritate your lungs and eyes. Wear a dust mask, safety glasses, and ear protection if you’re using power tools. Gloves will protect your hands from splinters and vibration.
Clearing and Cleaning the Stairs
Remove all objects from the stairway, including carpets, runners, nails, or tacks. Thoroughly vacuum and wipe down the entire staircase to avoid debris scratching the wood during sanding.
Removing Old Finish and Repairs Before Sanding
If your stairs were previously finished with a thick layer of paint or varnish, use a chemical stripper or scraper to remove most of it before sanding. Inspect for loose boards, protruding nails, or cracks. Make necessary repairs now, trying to sand over flaws can magnify them.
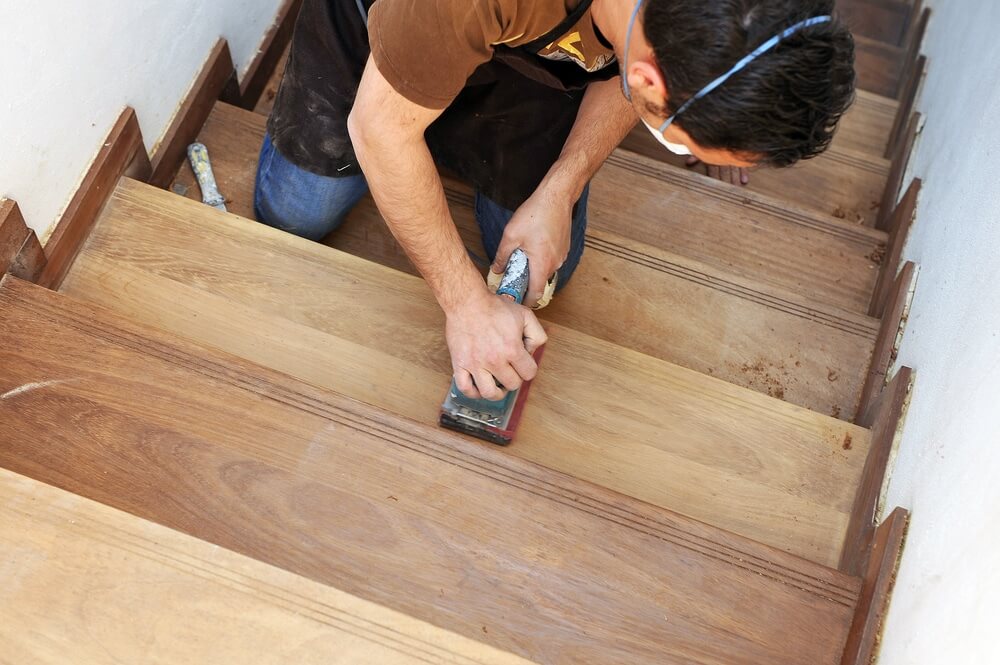
Step-by-Step Sanding Process
The secret to flawless hardwood stairs is patience and grit progression. Rushing this stage can leave visible scratches or unevenness.
Choosing the Right Grits and Sandpaper Progression
Start with a coarse grit to remove old finish and smooth out deep scratches. Move up through the grits for a progressively smoother surface:
- Coarse (40-60 grit): Strips finish and evens out rough areas.
- Medium (80 grit): Removes coarse scratches and blends surfaces.
- Fine (120 grit): Preps for stain or finish, smoothing the wood.
- Very fine (180 grit): Optional, for ultra-smooth results or delicate species.
Never jump more than one grit step at a time; each pass removes scratches from the previous one.
How to Sand Stair Treads and Risers Effectively
Begin with the treads, the horizontal boards you step on. Sand with the grain, not against it. For risers (the vertical boards), use a detail sander or sanding block. Apply gentle, even pressure to avoid gouging. For best results, sand every tread and riser completely with each grit before moving to the next.
Sanding Stair Edges and Corners Without Damage
Edges and corners demand a light touch. Use a sanding sponge or hand block for these areas to avoid damaging the profile. If your stairs have decorative details, fold sandpaper into smaller pieces or use a small detail sander to reach tricky spots.
Managing Dust and Debris During Sanding
Dust can settle into cracks or float throughout your home. Tape plastic sheeting over doorways and vents to contain the mess. Vacuum after each sanding stage, then wipe down surfaces with a tack cloth. This keeps your finish coat clean and smooth.
Finishing Your Hardwood Stairs
Once sanding is complete, you can see the natural beauty of the wood beneath. The next steps will protect and enhance that look.
Selecting the Best Stain or Finish for Durability and Appearance
Polyurethane is a top choice for high-traffic stairs, offering toughness and a range of sheens from matte to glossy. Oil-based stains bring out rich color and depth, while water-based versions dry faster and have less odor. Consider the color of your floors and trim for a seamless look.
Applying Finish: Techniques for Even Coating
Use a brush or foam applicator to apply stain or polyurethane, working with the grain. Keep coats thin and even to prevent drips. Wipe away excess stain promptly for uniform color. For water-based finishes, work quickly to avoid lap marks.
Drying Times and Additional Coats
Most finishes require at least two coats for durability. Allow recommended drying times between applications, typically 4-6 hours for water-based and up to 24 hours for oil-based products. Lightly sand between coats with fine-grit sandpaper, and vacuum to remove dust.
Maintenance Tips to Keep Your Stairs Looking Great Longer
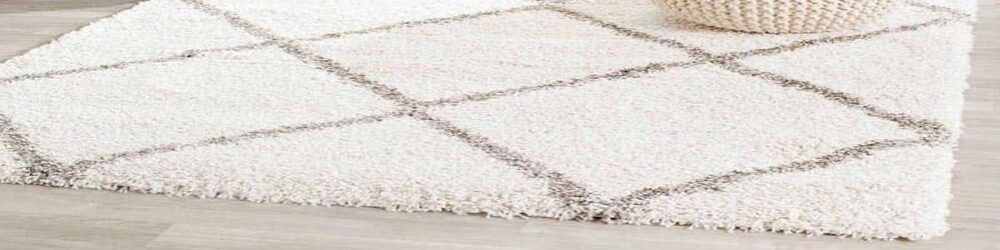
Place rugs or runners on high-traffic areas, but avoid rubber backing that traps moisture. Sweep regularly and wipe up spills immediately. Every few years, check for wear and consider a light sanding with a new topcoat to keep your stairs looking their best.
Troubleshooting Common Sanding Challenges
Not every sanding job goes smoothly. Some stairs present unique hurdles, but they can be overcome with the right tactics.
Dealing with Uneven Surfaces and Gouges
If you uncover gouges or low spots, use wood filler matched to your stair’s color before your final sanding pass. Sand the filled area smooth, blending with the surrounding wood.
Handling Difficult-to-Reach Areas
Balusters, spindles, and tight corners resist machines. Hand sanding, detail sanders, or even custom-cut sandpaper strips may be required. Take your time, as shortcuts here will stand out once the finish is applied.
When to Call a Professional
If your stairs are unusually steep, intricately detailed, or you discover structural damage, it may be time to consult an expert. Services like Mebesa hardwood stairs sanding can handle challenging projects and ensure professional-grade results.
Enhancing Safety and Aesthetics Post-Sanding
Refinished stairs can be both safer and more striking with a few finishing touches.
Installing Anti-Slip Solutions
Clear anti-slip strips or treads add traction without hiding the wood’s beauty. Textured finishes or matte polyurethane also help prevent slips, especially in homes with kids or seniors.
Adding Decorative Touches Like Inlays or Paint Accents
Consider a painted riser, wood inlay, or contrasting stain on the stair edges for a custom look. These details can turn your staircase into a design statement.
Maintaining Hardwood Staircases Over Time
Annual inspections and touch-ups keep hardwood stairs in top condition. Reapply finish as needed, replace worn anti-slip strips, and address any creaks or cracks before they worsen. Care now saves costly repairs later.
A sanded and refinished hardwood staircase elevates the entire home. With the right preparation and a patient approach, even a well-worn set of stairs can look freshly installed for years to come.